Table of Contents
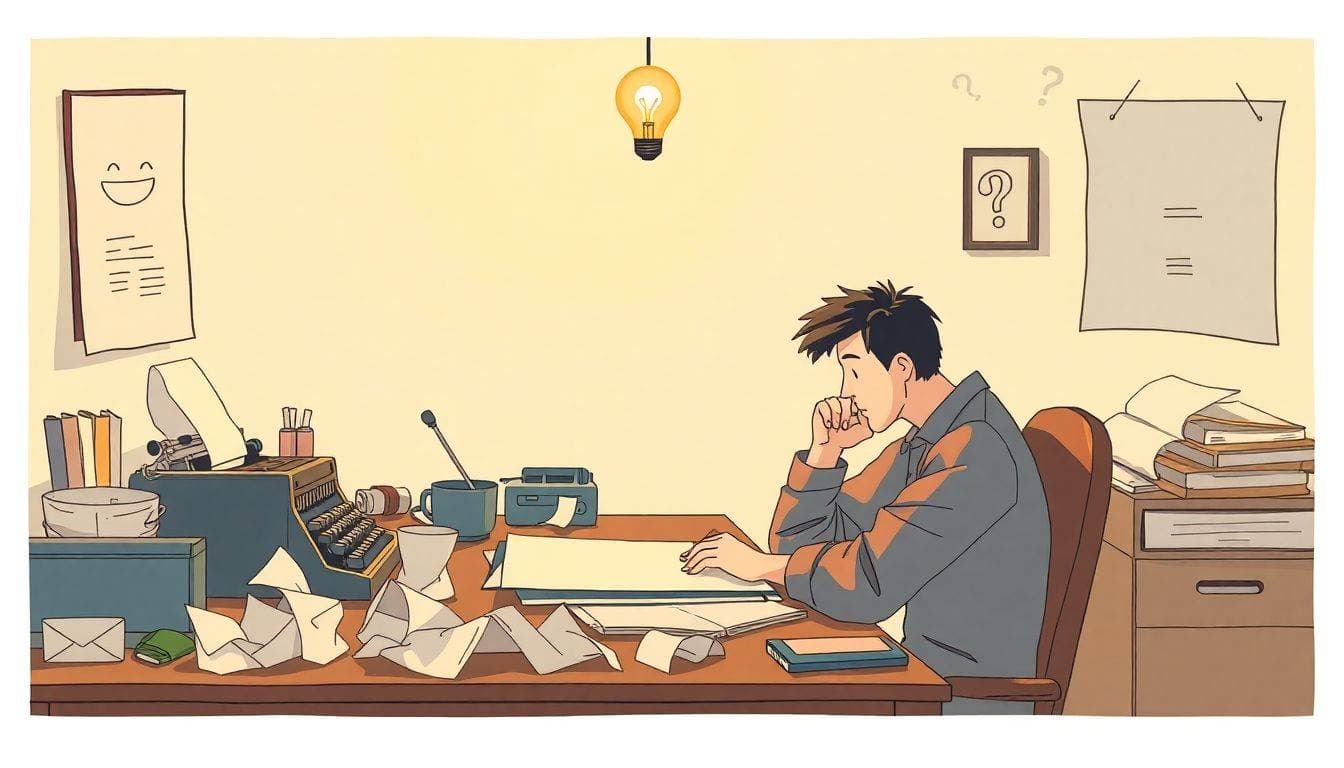
Writing an epilogue can be tricky, right? You’ve poured your heart into your story, and now you’re wondering how to wrap it all up without leaving your readers hanging or over-explaining.
Don’t worry, I’ve got your back! Together, we’ll navigate the ins and outs of crafting an epilogue that feels just right, giving your story the perfect send-off it deserves.
From nailing down its purpose to avoiding common pitfalls, we’ll touch on all the key steps to help you create an epilogue that resonates. Let’s dive in!
Key Takeaways
- Define the purpose of your epilogue—wrap up loose ends, show character futures, or hint at sequels.
- Choose a time frame that fits your story—immediately after or years later.
- Highlight character development and show how they’ve evolved.
- Keep it brief and focused, avoiding unnecessary details.
- Avoid rehashing the plot or introducing new conflicts.
- Select a point of view that enhances the story’s closure.
- Provide a satisfying sense of closure by tying up loose ends.
- Optionally, hint at future stories without making the current one feel incomplete.
- Revise and polish your epilogue for clarity and impact.

Step 1: Define the Purpose of Your Epilogue
So, you’re thinking about adding an epilogue to your story. Awesome! But before you jump in, let’s figure out why you want one. Is it to wrap up loose ends? Give a glimpse into your characters’ futures? Maybe hint at a sequel? Knowing the purpose will help you write an epilogue that truly enhances your story.
Ask yourself:
- What questions might my readers still have?
- Are there character arcs that need final closure?
- Do I want to show the long-term impact of events?
By clarifying why you’re writing the epilogue, you’ll ensure it adds meaningful value and leaves your readers satisfied.
Step 2: Choose the Right Time Frame for the Epilogue
Next up, let’s talk about when your epilogue takes place. Will it be right after the final chapter or years down the line? The time frame can dramatically affect how your readers perceive the ending.
Consider these options:
- Immediate Aftermath: Perfect for resolving any cliffhangers or immediate consequences.
- Short-Term Future: Shows initial changes and how characters are adapting.
- Long-Term Future: Highlights significant growth and long-lasting effects.
Think about what suits your narrative best. If you need some tips on handling time shifts in your writing, check out this guide on how to write in present tense.
Step 3: Highlight Character Development
Your epilogue is a great place to showcase how your characters have evolved. Share snippets of their new lives, relationships, or newfound wisdom. Have they achieved their dreams? Overcome personal obstacles?
Here are some ideas to get you started:
- Reveal a protagonist pursuing a new passion they’ve discovered.
- Show former rivals becoming allies or friends.
- Depict characters embracing changes they once feared.
By highlighting these developments, you give readers a satisfying conclusion to your characters’ journeys. For more insights on crafting compelling character arcs, you might find this article on static vs. dynamic characters really helpful.

Step 4: Keep It Short and Focused
When it comes to epilogues, less is often more. You don’t want to drag your readers through another lengthy chapter. Instead, keep it concise and to the point. Focus on the essential details that tie up your story neatly.
Here are some tips to keep it short and sweet:
- Limit the epilogue to a few pages or a single scene.
- Stick to the main characters and avoid introducing new ones.
- Convey the key message or theme without unnecessary elaboration.
Remember, the epilogue is like a cherry on top—it’s there to enhance, not overwhelm. If you’re curious about how length can impact different parts of your book, this guide on how long an ebook should be might offer some useful insights.
Step 5: Avoid Common Epilogue Mistakes
Nobody’s perfect, but let’s try to dodge some typical pitfalls when writing your epilogue. Common mistakes can leave readers feeling unsatisfied or even confused. Let’s make sure that doesn’t happen.
Watch out for these blunders:
- Rehashing the Plot: Avoid summarizing what’s already happened. Readers just finished your book—they don’t need a recap.
- Introducing New Conflicts: Now’s not the time to open up new storylines. Save those for a sequel or another book.
- Contradicting the Ending: Ensure your epilogue aligns with the tone and outcome of your story’s conclusion.
By steering clear of these mistakes, you’ll craft an epilogue that complements your story beautifully. If you’re interested in learning about other elements to avoid in your writing, check out this article on blue prose writing.
Step 6: Select the Point of View
The point of view (POV) in your epilogue can make a significant difference in how the final message resonates. Do you stick with the main character’s perspective, or switch it up with another character? Maybe even an omniscient narrator?
Consider these POV options:
- Same as the Story: Keeps consistency and might feel more cohesive.
- Different Character: Offers fresh insight or reveals information the main character wouldn’t know.
- Omniscient Narrator: Provides a broad overview and wraps up multiple storylines.
Choose the POV that best serves your story’s closure. If you’re exploring different narrative styles, you might find this piece on what is fourth person point of view fascinating.
Step 7: Provide a Sense of Closure
Your readers have invested time and emotion into your story. The epilogue is your chance to reward them with a satisfying conclusion. Tie up any lingering subplots and answer those nagging questions.
Ways to provide closure:
- Resolve any minor plot threads that didn’t fit into the main ending.
- Show the outcomes of supporting characters’ journeys.
- Reflect on the story’s themes and how they’ve played out.
A well-crafted epilogue leaves readers feeling content. For more ideas on wrapping up stories effectively, you might enjoy reading about romance story prompts that nail satisfying endings.
Step 8: Hint at Future Stories (Optional)
If you’re planning a sequel or a series, the epilogue can be a subtle way to pique readers’ interest in what’s next. But tread carefully—you don’t want to make your current story feel incomplete.
How to tease future tales:
- Introduce a small mystery or unresolved issue.
- Have a character mention upcoming challenges.
- Include an unexpected twist that opens new possibilities.
Just make sure it feels natural and doesn’t overshadow the story you’ve just concluded. If you’re interested in crafting narratives that set up future adventures, check out these fantasy writing prompts for inspiration.
Step 9: Revise and Polish Your Epilogue
You’ve written your epilogue—great job! Now it’s time to fine-tune it. Revision is where the magic happens, turning a good epilogue into a fantastic one.
Steps to polish your epilogue:
- Read Aloud: This helps catch awkward phrasing or run-on sentences.
- Seek Feedback: Share it with a trusted friend or writing group for insights.
- Edit for Clarity: Make sure your message is clear and impactful.
- Proofread: Correct any grammar or spelling errors.
Remember, even small tweaks can make a big difference. If you’re looking for tools to assist in the editing process, you might find this list of the best word processors for writers helpful.
And there you have it! With these steps, you’re well on your way to crafting an epilogue that will leave your readers satisfied and maybe even eager for more.
FAQs
An epilogue provides closure by revealing characters’ fates after the main events, tying up loose ends, or hinting at future stories. It helps readers understand what happens beyond the ending and offers a satisfying conclusion.
An epilogue should be brief and focused, typically shorter than a regular chapter. Aim for a few pages that effectively wrap up the story without introducing unnecessary details or dragging out the ending.
Using the same point of view maintains consistency, but changing it can offer new perspectives. Choose the point of view that best serves your story’s conclusion and enhances the reader’s experience.
Yes, an epilogue can hint at future stories or sequels by introducing new elements or unresolved issues. However, it should still provide closure for the current story to satisfy the reader.