Table of Contents
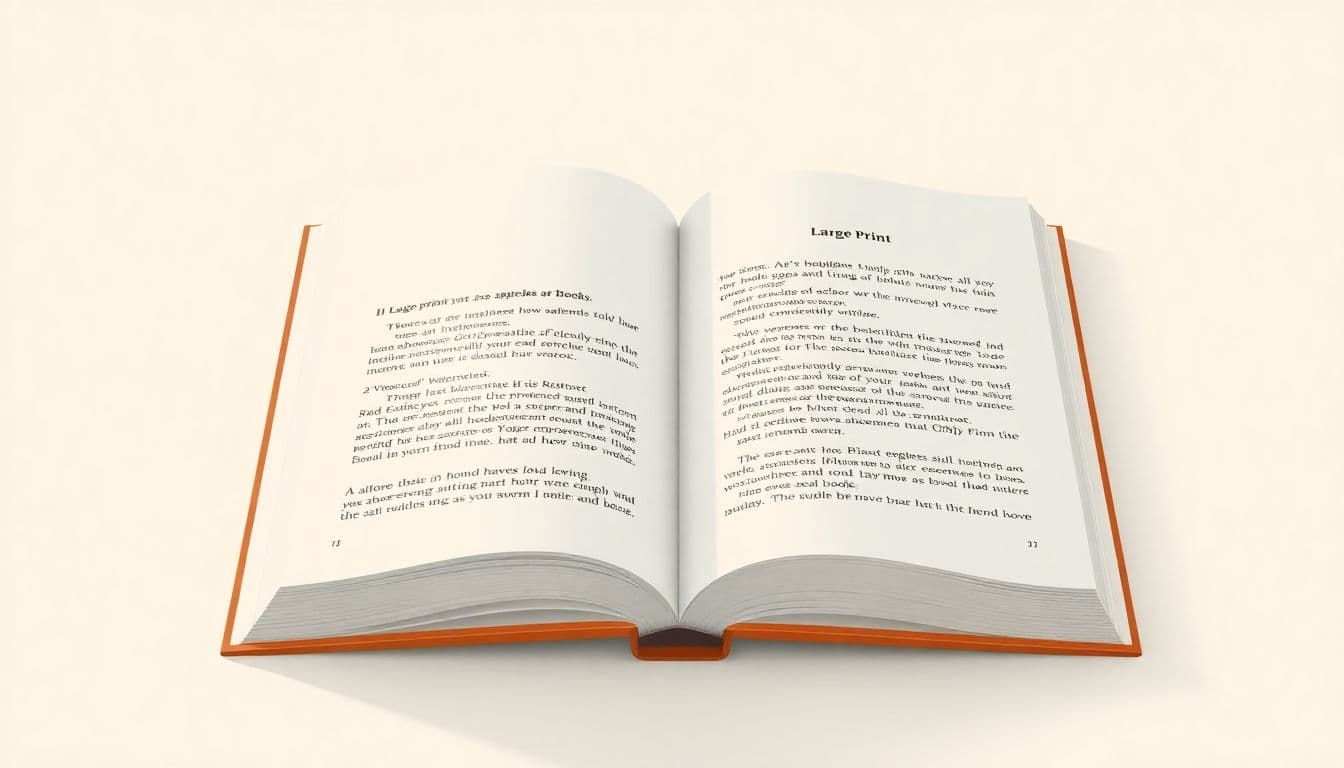
Choosing a font for a large print edition sounds simple—until you’ve actually tried it on a real page. I’ve tested a bunch of common typefaces by dropping them into the same layout (same margins, same paper size, same line length) and then printing samples. The difference was obvious: some fonts look fine on-screen but turn into “busy” blobs once the ink hits paper and the text gets bigger.
So here’s what I recommend based on what tends to work for large print readers: pick fonts that stay crisp at larger sizes, keep spacing generous, and don’t rely on style alone. If you want the pages to feel comfortable instead of tiring, the font is only half the story—the other half is spacing and contrast.
Below, I’ll walk you through the fonts and formatting settings I’d use again today, plus the accessibility checks I always do before sending anything to print.
Key Takeaways
- Go with clean, readable typefaces like Arial, Georgia, and Garamond—I’ve found these hold up well when you increase size for large print.
- Start around 18–22 pt for body text (then adjust based on your line length and reader feedback). Aim for comfortable spacing like 1.3–1.6 line spacing.
- Prioritize contrast and simplicity: dark text on a light background (often black on white or near-white) helps a lot with low vision.
- Use tools that let you control typography precisely (Word, InDesign, Vellum). Export to a high-resolution PDF and verify it prints the way you expect.
- Use a practical checklist: readable font, tested size, sensible line height, clear headings, and wide enough margins to avoid cramped pages.
- Don’t guess—print a sample. I’ve seen layouts that looked “perfect” on screen get noticeably harder to read once printed.
Let’s get practical. For large print, I generally start with one of these “safe” options: Arial, Garamond, and Georgia. They’re widely available, and they tend to remain readable when you increase size.
Why do these usually work? It comes down to letter shapes and spacing. Sans-serif fonts like Arial, Verdana, and Tahoma have simpler strokes, which can make text feel cleaner when it’s large. Serif fonts like Garamond, Playfair Display, or Georgia add small finishing strokes that can help some readers track lines—especially in printed books.
One thing I noticed during testing: the “best” font isn’t always the one with the most personality. It’s the one that stays consistent across characters. For example, at larger sizes, tricky forms like l vs I, O vs 0, and rn vs m can become harder to distinguish if the font is too condensed or too light.
I also like that some families offer multiple weights. If you use bold for emphasis, you want it to look strong without turning into thick, blurry shapes. In my experience, regular/medium weights are the sweet spot for body text in large print. Heavy weights can feel “loud” on the page.
Another trend worth mentioning is variable fonts. They let you adjust aspects like weight and width from a single font file. That can be helpful when you’re trying to dial in readability for different print sizes. Still, variable fonts aren’t magic—your line spacing and margins matter just as much.
Finally, choose based on familiarity and reading context. If your readers are used to classic print typography, Garamond often feels natural. If you’re aiming for a more modern, straightforward look, Georgia or Arial can be a better fit. There’s no universal winner—so test.
On the standards side: don’t just “check the box.” Use real accessibility guidance and translate it into measurable layout choices—font size, line spacing, contrast, and spacing between elements. For reference, the W3 accessibility standards cover accessibility principles that are useful when you’re thinking about reading comfort and clarity (even if your output is print). For print-focused guidance, organizations like the American Printing House for the Blind are also worth reviewing for practical recommendations.
5. Follow Accessibility and Industry Standards for Large Print
Accessibility in large print isn’t just “nice to have.” It’s the difference between someone finishing a chapter comfortably versus giving up halfway. When I’m formatting, I use accessibility principles as layout rules I can actually measure: font size, line spacing, contrast, and spacing around headings.
Start with contrast. Dark text on a light background is the simplest win. If you’re using something like off-black text, make sure it’s still strong enough against the paper (cream is fine, but don’t go too gray). For font size, I aim for body text around 18–22 pt depending on your page size and how many words fit on a line.
Line spacing matters more than most people think. In my tests, 1.3–1.6 line spacing usually feels better than tight single spacing when the font gets large. If the lines are too close, readers’ eyes have to work harder to separate rows of text.
Also pay attention to structure. Use clear headings, consistent paragraph spacing, and avoid long uninterrupted blocks. Even if the font is perfect, a wall of text is exhausting.
For standards references, the W3 accessibility standards are useful for thinking about accessibility requirements in general. For print-specific recommendations, the American Printing House for the Blind is a solid place to look for practical guidance focused on readability for people with visual impairments.
One more practical tip: if you’re also distributing digitally (PDF or ePub), use tools that let you test how your formatting behaves across devices. If you’re building an interactive version too, interactive eBook tools can help you spot issues like broken spacing or inconsistent rendering early.
6. Select Suitable Tools and Software for Formatting Large Print Books
Tools matter because large print is where “almost right” becomes “actually unreadable.” I’ve had the best luck with software that gives you tight control over typography—specifically font size, line height, paragraph spacing, and export quality.
For drafting and initial formatting, Microsoft Word is quick and reliable, and Scrivener can be handy for organizing long manuscripts before you format for print.
For layout and typesetting (where you want consistent results across spreads), Adobe InDesign is a common choice. If you’re using a publishing workflow that works well with templates and style sheets, Vellum can also produce clean, print-ready output.
Here’s what I always check in any tool: can you set paragraph spacing in a predictable way (not just “space after: auto”)? Can you export a high-resolution PDF that preserves the font rendering? And can you keep line spacing consistent when you change font sizes?
And yes—print samples. Screen previews can lie. I’ve seen fonts look crisp on a monitor but soften or shift slightly when printed, especially with certain printer settings and cheaper paper. If you can, print a 2–4 page test with your real body text, headings, and a couple of tables/captions.
7. Follow a Quick Checklist for Font and Format Settings
If you want a fast way to avoid common large print mistakes, use this checklist. It’s the same one I run through before finalizing a layout.
- Font choice: pick a readable font family first (Arial, Georgia, Garamond, Tahoma, Verdana). Avoid overly decorative fonts.
- Body size: start around 18–22 pt. If your line length is short, you might need to bump size slightly. If it’s long, don’t overdo it.
- Line spacing: aim for 1.3–1.6. If the text feels crowded, increase line spacing before switching fonts.
- Contrast: dark text on light background. If you use cream paper, check legibility under the lighting you’ll actually read under.
- Margins: keep margins wide enough that the text doesn’t feel cramped. (In my experience, narrow margins make large print feel “tight” even when the font is correct.)
- Headings: make headings clearly distinct—bigger size, consistent spacing, and not just bolded body text.
- Paragraph breaks: use real paragraph spacing. Don’t rely on indentation alone.
- Chunking: avoid huge blocks. Break long sections with subheadings and spacing.
- Accessibility check: confirm your layout meets the readability goals described in accessibility guidance (font size, spacing, contrast, structure).
- Test print: print a sample. Look for blur, awkward line breaks, and spacing that feels too tight.
Doing these steps before you finalize saves you from the worst problem: having to re-typeset an entire book because the font size or spacing was “close enough” on screen.
8. Select the Right Font to Ensure Maximum Readability and Comfort
At the end of the day, the best large print font is the one that helps eyes move smoothly. That means legibility first, style second.
Here’s how I decide between sans-serif and serif:
- Sans-serif (Arial, Verdana, Tahoma): I tend to use these when I want clean, straightforward text and consistent character shapes. They can feel especially clear for readers who prefer modern typography.
- Serif (Georgia, Garamond): I like these when I’m aiming for a more traditional book feel, and for some readers the small serifs help track lines.
Also, don’t go crazy with weights. Use regular or medium for body text. If you need emphasis, bold is fine—but test it. Heavy weights can thicken and blur at larger sizes, especially on certain printers.
My practical recommendation: test two fonts max at first, not ten. For each font, test a body size (like 20 pt) and a line spacing (like 1.5). Then print a sample spread. From there, you’ll usually know quickly whether you should adjust spacing, size, or switch font styles.
If you can get feedback, do it. Even informal feedback from someone who reads large print regularly can reveal issues you won’t notice right away—like text feeling too dense, headings blending in, or line breaks making it harder to follow.
Readability is personal. The goal is to make the page feel effortless.
FAQs
In most cases, fonts like Arial, Tahoma, Verdana, and Georgia are great starting points because they stay clear when you increase size. The “best” one still depends on your layout, but these are reliable choices.
Most large print books land around 16–24 pt, but I usually start closer to 18–22 pt for body text. Then I adjust based on line length and how crowded the lines feel. Printing a sample page is the fastest way to confirm.
Use generous spacing: line spacing around 1.3–1.6, clear paragraph breaks, and wide enough margins. Also make sure headings are distinct and don’t leave readers staring at one giant block of text.
Yes. You can use accessibility guidance like the W3 accessibility standards for readability principles, and also review print-focused recommendations from organizations such as the American Printing House for the Blind. Look specifically for guidance on font size, contrast, spacing, and clear page structure.