Table of Contents
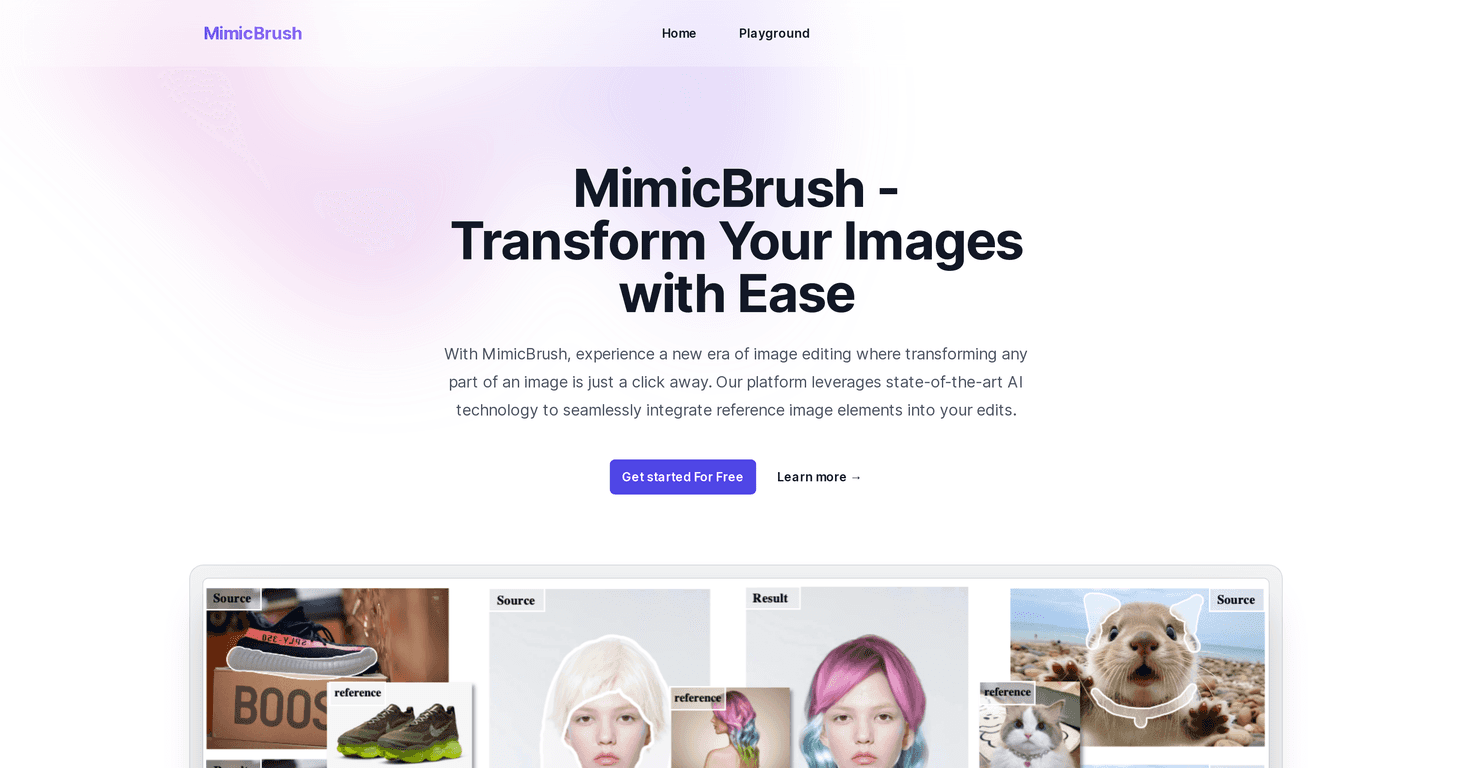
I’ve spent way too many evenings trying to “fix” an image in Photoshop—zooming in, nudging pixels, cleaning up edges, only to realize I still don’t like how it looks. That’s why I was curious about MimicBrush. The basic idea is simple: you give it a reference image, and it helps you apply that style and those details to your own photo without turning the whole process into a technical project.
After testing it with a few different reference images (a couple of stylized photos and one more “real-world” texture), what stood out wasn’t just that the edits looked good—it was how quickly I could get something usable. No long learning curve, and I didn’t feel like I needed to be an expert in image models to get decent results.

MimicBrush Review: What I Liked (and What to Watch)
MimicBrush is one of those tools that feels like it was built for people who just want results. Instead of manually recreating textures, matching lighting, and trying to keep everything consistent, it focuses on style and detail transfer from a reference image.
In my experience, the biggest win is how the AI “understands” what it’s looking at. It tries to recognize the style cues and surface details from the reference, then applies them to your target image. The result is that your edits don’t look like random filters—they look like the image is actually using the reference as a guide.
One feature I kept coming back to is localized modifications. I’m picky about this, because a lot of AI editing tools either change the whole image or smear the effect into areas I didn’t ask for. With MimicBrush, I could focus on specific sections—like enhancing the texture in part of the scene—without destroying the overall composition. That makes it way easier to experiment without starting from scratch every time.
Then there’s texture transfer, which is honestly the most fun part. I tested it with a reference that had strong texture patterns (think fabric/paint-like detail), and it did a decent job keeping the original shapes while swapping in the texture feel. It’s not magic—if the reference is low quality or doesn’t match your subject, the results can look off—but when you pick a good reference, it’s surprisingly convincing.
Key Features That Matter in Real Editing
- Targeted edits (localized modifications): You can work on specific areas instead of reworking the entire photo. This is huge if you only want to enhance one part of the image.
- Automated style mimicking: The tool handles the “how do I apply this look?” part for you, so you’re not stuck adjusting ten different sliders.
- Precision-focused workflow: What I noticed is that the edits stay more controlled when you limit the effect to the area you care about.
- Texture transfer while keeping shapes: It aims to add texture from the reference without completely changing the underlying structure of your image.
- Post-processing for image quality: There’s also an extra pass to improve the final output so it doesn’t look overly raw or unfinished.
Pros and Cons (From My Testing)
Pros
- Easy to start: The interface is straightforward enough that I didn’t feel overwhelmed right away.
- Realistic results when references match: When the reference image is high quality and relevant, the output looks more “natural” than you’d expect.
- Works across different styles: I tried a couple of different reference looks and the tool adapted instead of forcing one preset aesthetic.
- Accessible on different devices: Since it’s web-based, it’s convenient if you don’t want to install anything.
Cons
- Reference quality really matters: If your reference is blurry, noisy, or doesn’t have the texture/style you want, the results will reflect that.
- Advanced controls can take a bit to learn: I picked things up quickly for basic edits, but dialing in more specific effects takes a little practice.
Pricing Plans
MimicBrush includes a free version so you can test it right away. The exact details for paid plans (like what features unlock or what the monthly cost is) weren’t provided in the original information I had access to, so I can’t responsibly quote numbers here. If you’re budgeting, I’d suggest checking the pricing page directly on MimicBrush before you commit.
If you’re deciding between free vs paid, here’s how I’d think about it: if you’re just experimenting or doing occasional edits, free might be enough. If you’re producing content regularly and want more consistent, higher-volume results, paid is usually where it makes sense.
Wrap up
Overall, MimicBrush feels like a practical tool for style transfer and texture-based edits—especially if you want localized control without turning the process into a full-on editing marathon. It’s not perfect (bad references will still produce questionable output), but when you use a solid reference and focus the effect on the right areas, the results can look genuinely impressive.
If you’ve been frustrated with slow, manual editing, MimicBrush is absolutely worth trying. I know I’ll be using it again the next time I want a cleaner, more creative look without spending hours tweaking details.
Promote MimicBrush