Table of Contents
Ever try to imagine your favorite book as an audiobook… and then immediately get stuck on the “how?” part? I’ve been there. My first attempt wasn’t some dramatic failure, but it was messy enough that I knew I needed a better setup before I could keep going.
So here’s what I actually recommend if you want to record your own audiobook step by step—plain language, practical checkpoints, and a workflow you can repeat. By the time you finish this, you’ll know how to capture clean takes, edit them without overthinking, and export files that won’t get rejected for silly reasons.
Key Takeaways
Key Takeaways
- Pick a quiet room and kill echo with soft stuff (carpet, curtains, couch cushions). If you hear “ringing,” your room is the problem.
- Use a pop filter and headphones while recording so you catch pops, clicks, and background noise in real time.
- Do a level test first: aim for peaks around -6 dB (and keep peaks safely under -3 dBFS to avoid clipping).
- Practice your pacing. A common narration target is about 9,000–10,000 words per hour (varies by genre and style—use your own sample).
- Record in chunks you can edit easily (scene/paragraph). Keep mic distance consistent—roughly 6–12 inches.
- Edit with intent: remove mistakes, breaths you don’t want, and long pauses; fix level consistency; use noise reduction only lightly.
- Export a clean “master” as WAV and a distribution file as MP3. For MP3, 192 kbps is a safe baseline for many platforms.
- Before upload, do a full listen-through on headphones and on another device. If the tone/pacing changes, you’ll notice it here.
- Follow platform specs exactly (ACX and Findaway Voices are picky about formats, sample rate, naming, and metadata). Don’t guess.
- Warm up, take breaks, and keep reading naturally—tired vocals and inconsistent distance are the two biggest “why does this sound off?” causes.

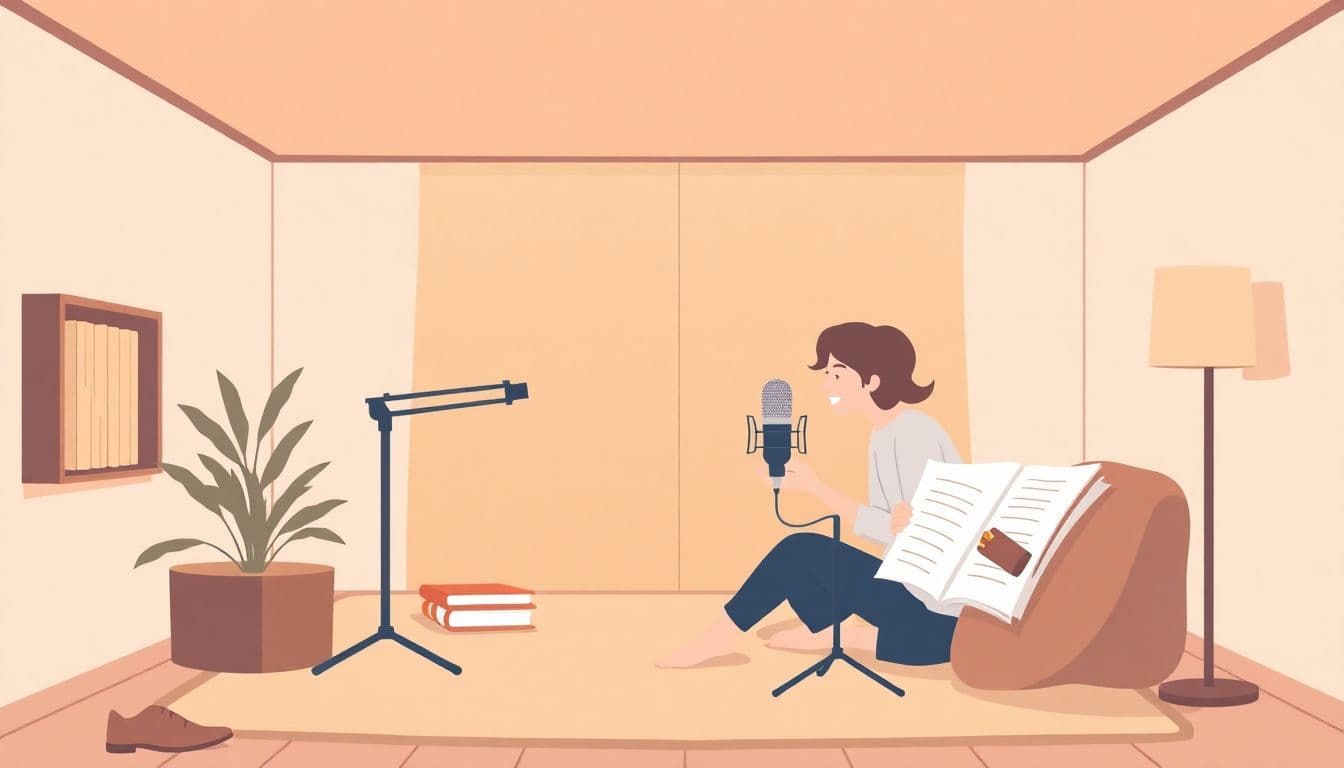
1. Choose a Quiet and Comfortable Recording Space
First thing: pick a spot where you won’t get interrupted. Phones buzzing, HVAC kicking on, kids in the hall—those are the enemies. Turn off notifications and close doors. Seriously.
Now listen. Stand where you’ll record and clap once. If you hear the clap “bounce” back, you’ve got echo. Soft furnishings help a lot—carpet, thick curtains, a couch, even a pile of blankets can tame reflections.
If you can, choose a smaller room instead of a big empty one. Thick walls help too. And if you’re using DIY soundproofing (foam panels, blankets on mic stands, etc.), aim for reducing reflections, not sealing the room like a studio bunker.
Make it comfortable. You’ll record for a while. A stable surface for your mic and a chair that doesn’t wobble will keep your voice and mic distance consistent—two things that matter more than people think.
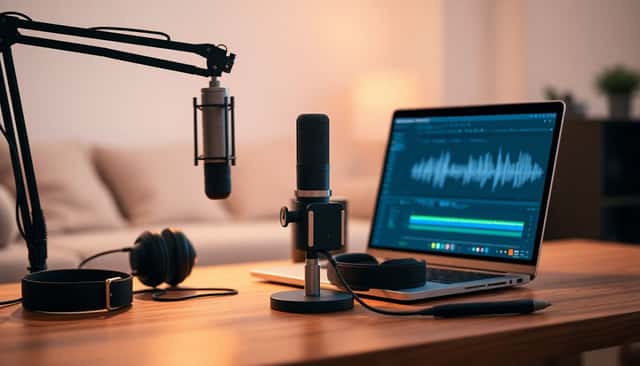
2. Gather the Right Equipment for Recording
You don’t need a fancy booth, but you do need the basics working well together.
Microphone: A USB mic is a good starting point. Popular options include Blue Yeti and Audio-Technica ATR2100x. In my experience, the mic matters less than mic placement—still, don’t buy the cheapest thing you can find and then fight it for hours.
Headphones: Use closed-back headphones if you can. You want to hear pops, clicks, and room noise while you record—not after.
Pop filter: This one’s non-negotiable. It reduces plosives (those “p” and “b” bursts). If you still get plosives after using one, it’s usually distance or angle, not the mic.
Optional but helpful: A mic stand or arm so your mic doesn’t drift. A simple desk boom arm is a big upgrade for consistency.
Budget reality: A basic home setup can start around $100. If you have $300–$500, you’ll usually get a noticeably better mic/headphone combo and fewer headaches during editing.
3. Install and Learn Your Recording Software
Pick recording software you can operate without thinking. You’ll be doing this for a long time, so “complicated” is not your friend.
Common options: Audacity (free), Adobe Audition, or GarageBand for Mac users.
Before you record your first chapter, learn these exact moves:
- How to start/stop recording without glitching
- How to set input level (and where to see peaks)
- How to export a file (WAV and MP3)
- How to split tracks and undo mistakes quickly
- How to listen back without processing chaos (so you can judge what’s real)
One practical tip: record a 30–60 second sample with the exact script style you’ll use later. Then you’ll know right away if your mic distance and levels are working.
4. Prepare to Record: Test Levels and Warm Up
Do a test before you commit. I can’t stress this enough, because it’s the easiest way to avoid hours of “why does this sound clipped?” later.
Level test (do this every session):
- Record about 30 seconds of narration.
- Check peaks. Aim for -6 dB peaks. If you’re hitting -3 dBFS or higher, lower gain.
- Listen for clipping (harsh distortion) and background noise (a hiss, hum, or room tone you can hear under your voice).
If you’re hearing a noticeable hum, it’s often a grounding/power issue (especially with some USB setups). Moving the laptop power brick away or trying a different USB port can help.
Warm up: Spend 5–10 minutes before recording. Light humming, gentle lip trills, and a few slow reads will get your voice consistent. Also, drink water. Dry vocal cords make your “soft” parts too quiet and your “loud” parts too spiky.
5. Record Your Audiobook in Clear, Consistent Takes
When you finally hit record on the real thing, speak naturally. Don’t try to “act” louder—just aim for a steady, readable delivery.
Narration speed: A common target is around 9,400 words per hour, but don’t treat it like a law. If you read slower, that’s okay. What matters is consistency and clarity. If you want a personal target, time yourself on a 1,000-word excerpt and calculate your words per hour.
Chunk your recording: Record in manageable sections—paragraph by paragraph, or scene by scene. You’ll edit faster, and you won’t feel like you’re stuck fixing one huge file.
Mic distance: Keep it consistent. A good starting point is 6 to 12 inches. Too close and you’ll get boomy bass and nasty plosives. Too far and you’ll hear more room noise.
Don’t chase perfection mid-sentence. If you mess up, pause, reset, and re-record the line or the whole chunk. Your goal is clean takes you can edit without sounding stitched together.
6. Edit Your Audio Files for Quality and Clarity
Editing is where you turn “recorded” into “listenable.” If your raw takes are decent, editing becomes a lot faster.
Start by listening straight through (no effects yet). Then go back and fix problems in this order:
- Remove mistakes: wrong words, stumbles, repeated sentences
- Trim long pauses: you can keep natural breathing, but chop the dead air
- Cut background noise between lines (don’t shrink your voice—just clean the gaps)
- Level consistency: make sure volume doesn’t jump between takes
Audacity workflow (practical):
- Noise reduction (lightly): Find a section where you’re not speaking but the room noise is present (10–20 seconds helps). In Audacity, use Effect > Noise Reduction & Repair > Get Noise Profile, then apply Noise Reduction with conservative settings (small changes only). If your voice starts sounding “watery” or underwater, you’ve overdone it.
- EQ (basic voice cleanup): A gentle high-pass filter can reduce rumble. In Audacity, try Effect > Filter Curve EQ and roll off low frequencies a bit (start small; you’re not trying to make it sound thin).
- De-esser (if needed): If your “s” sounds are harsh, use a de-esser plugin if you have one. If not, try EQ cuts around the harsh range rather than heavy noise reduction.
- Compression (optional): If your voice levels vary a lot, compression can help. Keep it subtle—too much and it squashes your natural dynamics.
Breaths and clicks: Pop filters reduce plosives, but you’ll still get occasional mouth clicks or loud breaths. I usually prefer trimming the worst ones and leaving some natural breathing. Over-editing makes narration feel unnatural.
Keep it natural: If the audio suddenly sounds “processed,” back off. Listeners can tell when something sounds synthetic, even if it’s technically clean.
Also, split your long recordings into chapters or sections. Editing one hour at a time is way easier than wrestling a 6-hour file.
7. Export and Save Your Finished Files Correctly
Once your edits are done, export in the formats you’ll actually need.
Master vs final: Save a master as WAV. Then export a distribution file as MP3 (many platforms accept MP3, but always confirm).
MP3 settings: A bit rate of 192 kbps is a solid baseline for clarity without turning your files into monsters.
Naming: Use a consistent file naming scheme so you don’t get lost later. Example: Chapter1_FirstName_LastName.mp3. If a platform has a required naming format, follow that exactly.
Double-check specs: Platforms like ACX often have strict requirements (sample rate, bit depth, file format, and sometimes how files are grouped). Don’t guess—verify.
Backups: Save backups on an external drive and/or cloud storage. Losing a chapter late in the process is the kind of pain you don’t forget.
8. Review Your Recordings and Prepare for Upload
Before you submit anything, listen again. This time, do it like a listener would.
- Listen from start to finish (even if it takes time)
- Check on more than one device/headphone set
- Look for volume jumps between chunks
- Spot any lingering noise, clicks, or weird transitions
Then do a quick narration consistency check: pronunciation, tone, and pacing should feel steady across chapters. If you changed your mic distance mid-way, it’ll show up here.
Read the platform guidelines carefully. That includes file size limits, formatting, and metadata requirements. If you’re using ACX, you can review requirements on ACX. For other workflows, Findaway Voices also publishes clear submission details.
Fill out metadata accurately (title, author name, description, and any required identifiers). A small mistake can delay things or cause rejection.
If possible, get feedback from another narrator or a beta listener. A fresh set of ears catches issues you stop noticing after editing for days.
9. Upload and Submit Your Audiobook to Platforms
Alright—this is the moment you get to stop editing and start shipping.
Create an account on your chosen platform(s), such as ACX, Findaway Voices, or Kobo Audiobooks.
Then follow their upload steps: upload the files, add metadata, and select distribution options. Don’t rush this part. Make sure the files you upload match the chapter order and naming they expect.
Set your pricing/royalties based on how the platform structures payouts. Most platforms take a percentage, so plan accordingly.
Write a decent author bio and description. You’d be surprised how often “good audio” gets overlooked because the listing is boring or incomplete.
After submission, review timelines can range from a few days to a few weeks depending on the platform and workload.
Once it’s live, promote it. Social media posts, a simple website page, or an email list can help listeners actually find your audiobook.
10. Tips for Better Recording and Consistent Results
- Warm up every session: 5 minutes beats “hoping your voice cooperates.”
- Keep mic distance consistent: aim for 6–12 inches. If you move closer on emotional lines, your levels will jump.
- Use a script + markers: if you can, mark chapters/scenes so you don’t lose your place.
- Take breaks: tired vocals get raspy and choppy fast.
- Record in smaller sessions: it’s easier to stay consistent and catch mistakes early.
- Control echo: soft furnishings really do help. If it sounds “roomy,” fix the room before blaming the mic.
- Practice reading aloud: you’re training your pacing and pronunciation, not just your voice.
- Don’t over-process: heavy noise reduction and extreme EQ can make narration sound unnatural.
- Keep learning: watch tutorials, join audiobook creator communities, and ask for feedback. (That’s how you improve faster than by trial and error alone.)
FAQs
Pick a quiet area with minimal background noise, comfortable furnishings, and decent acoustics. If you hear echo when you clap, bring in soft materials (curtains, carpets, blankets) until the room sounds “dead” instead of “ringy.”
You’ll need a quality microphone, headphones for monitoring, and a way to keep mic placement stable (stand/arm). Recording software is next, plus basic editing tools so you can trim mistakes, manage levels, and export in the formats the platform requests.
Improve quality by recording in a quieter, less echo-y space, setting proper input levels (aim for peaks around -6 dB), and warming up your voice before you start. Then edit with restraint—trim what’s wrong, smooth levels, and use noise reduction lightly so your voice doesn’t sound “processed.”