Table of Contents
When I first tried to record an audiobook, I honestly thought I needed a fancy studio setup to get “real” results. Turns out that’s not the case. What you do need is a solid mic choice, a decent room, and a workflow that doesn’t fall apart the moment you hear a random pop or a weird room echo.
So here’s how I’d approach it: I start with the microphone and placement (because that’s where most of the sound quality is won or lost), then I dial in interface/DAW settings so my levels are consistent, and only after that do I worry about editing polish. If you follow the steps below, you’ll end up with narration that sounds clear, controlled, and ready to share.
Quick heads-up: I’m going to get practical. You’ll see specific targets (like mic distance, gain behavior, and export settings), plus what I changed when my first recording attempts sounded… less than great.
Key Takeaways
Key Takeaways
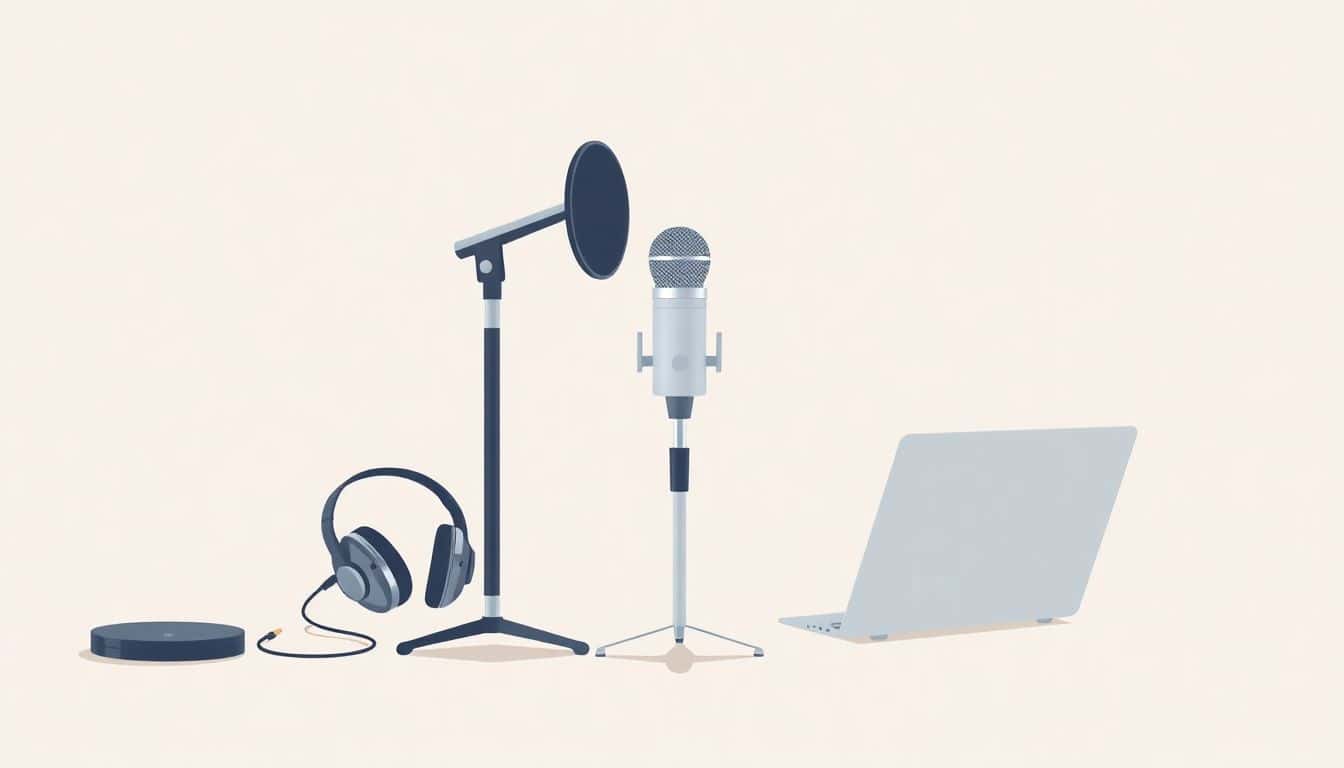
- Use a cardioid mic to keep your voice upfront and reduce room noise (for example, the Audio-Technica ATR2100x or Rode NT-1). Add a pop filter so plosives don’t spike.
- Pair your mic with an audio interface (like the Focusrite Scarlett Solo) so you get clean preamps and stable recording levels.
- Monitor with closed-back headphones (Sony MDR-7506 or Audio-Technica ATH-M50x are common). You’ll catch breaths, clicks, and tone issues early.
- Record in a small, quiet room with soft stuff around you (curtains, rugs, clothing). Aim your mic away from hard reflective surfaces.
- Use a DAW you can edit quickly in (Audacity, Reaper, or Adobe Audition). Record to WAV first, then convert after editing.
- Add a few helpful accessories: shock mount, good stand, and simple absorption (foam panels or a portable booth) to tame reflections.
- Organize by chapter/section and back up immediately—cloud + external drive is what I use to avoid “oops” moments.
- Export for audiobook platforms with correct metadata and chapter markers (MP3 for general use, M4B when chapter/bookmark support matters).

1. Choose the Right Microphone for Recording
If you want high-quality sound, your microphone choice is the first domino. In my experience, a condenser mic is usually the sweet spot for audiobooks because it captures subtle vocal details—those tiny inflections that make narration feel “alive.” Budget models can still sound surprisingly good, especially if you treat the room and place the mic correctly.
For example, I’ve used setups with mics like the Audio-Technica ATR2100x and the Rode NT-1. The models vary, but the pattern is similar: you’ll get cleaner narration when you use a cardioid mic (directional pickup) and keep the mic consistent.
Cardioid polar patterns help because they focus on what’s in front of the microphone and reject more of what’s behind it. That’s huge if your room isn’t perfect. It won’t magically remove bad acoustics, but it does reduce the “wash” around your voice.
What I noticed after a few recordings: my biggest early problem wasn’t the mic—it was distance and angle. When I got closer too fast, my voice got boomy. When I moved back, the room started creeping in. Which brings me to the practical part.
Mic placement target: start around 4–6 inches (10–15 cm) from your mouth, slightly off-axis (not directly in the center of the capsule). Off-axis can reduce harshness without dulling everything.
Tip: Use a pop filter (or pop screen). It’s not just for “p” and “b” sounds—it also helps keep your plosives from turning into sharp peaks that you’ll hate later in editing. In my setup, adding a $10–$20 pop filter made the waveform look smoother right away.
2. Select a Quality Audio Interface to Connect Your Microphone
An audio interface is the bridge between your mic and your computer. Even if your microphone is great, a noisy preamp or glitchy driver can ruin the recording. I’ve learned this the hard way—nothing kills motivation like re-recording because the gain was off or the signal clipped.
Interfaces like the Focusrite Scarlett Solo are popular for a reason: solid preamps, stable performance, and straightforward controls. If you’re shopping, focus on features that affect real recording quality: clean gain, reliable drivers, and low-latency monitoring.
Here’s what I check before I start a session:
- Preamps: do they provide enough clean gain for your voice? (If you’re quiet, you’ll want headroom without hiss.)
- Phantom power: if your mic needs it (many condensers do), make sure the interface can supply it (usually +48V).
- Latency: you want monitoring that doesn’t feel delayed.
- Compatibility: drivers should work smoothly with your OS.
Pro tip: Set your interface levels so your loudest narration peaks don’t hit red. A good rule I use is aiming for peaks around -6 dB to -3 dB during normal “strong” delivery. Leave headroom—compression later can’t fix clipped audio.
Quick workflow I follow: I do a 30-second test read, watch the meters, then adjust gain until my peaks are consistent. After that, I don’t touch the gain mid-session unless something changes (like I move closer to the mic).
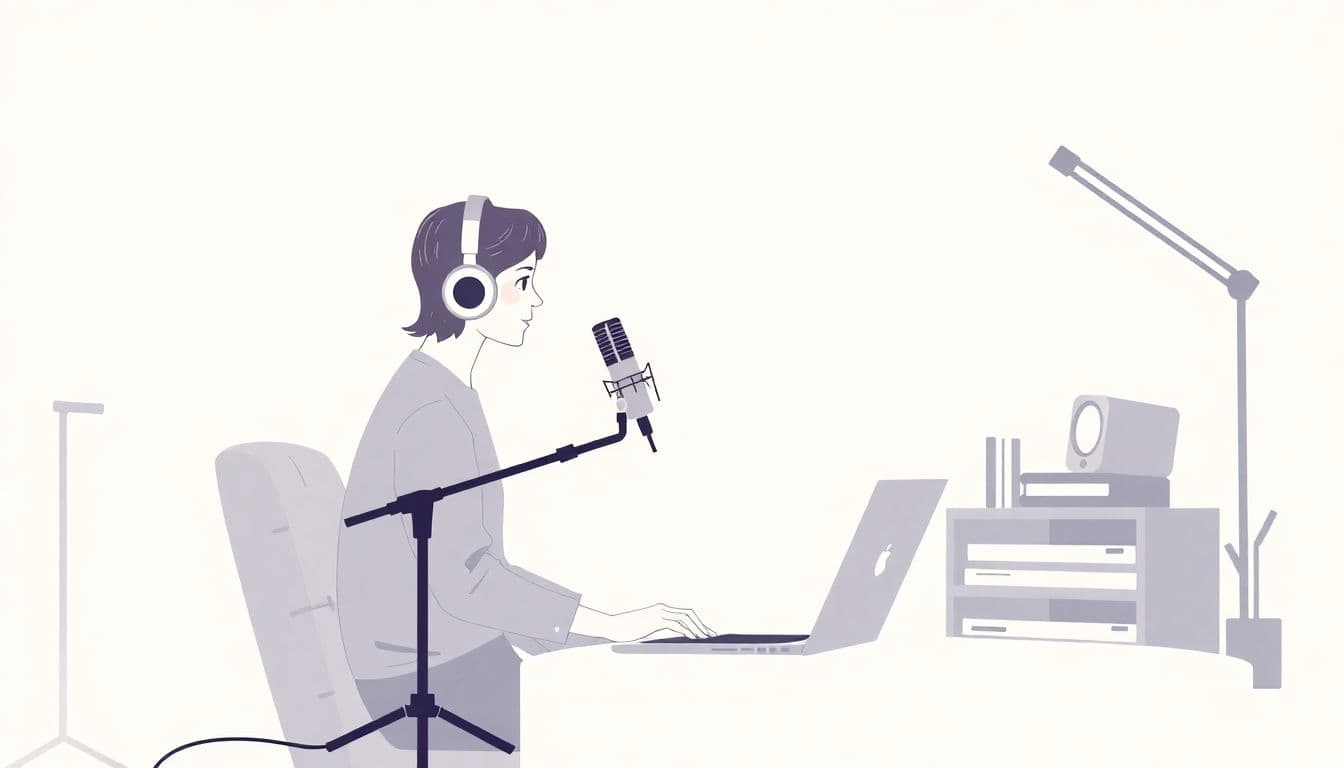
3. Use Comfortable, Isolating Headphones for Monitoring
Headphones aren’t optional if you want professional results. Closed-back headphones help because they block outside sound and prevent your headphones’ audio from bleeding into the mic. I like this setup because it makes monitoring more reliable—especially during long takes.
Common choices include the Audio-Technica ATH-M50x and Sony MDR-7506. Comfort matters too. Audiobooks aren’t a 10-minute podcast session. You might wear the same headphones for 2–4 hours, and if they’re uncomfortable, you’ll start adjusting them, shifting your head, and changing mic distance. That’s how “why does this chapter sound different?” happens.
What to listen for while recording:
- Breath noise that’s too loud (usually mic too close or wrong angle)
- Clicks (clothing, mouth noise, mic handling)
- Plosive spikes (pop filter/technique)
- Room tone or hum (power/grounding issues, HVAC, etc.)
Tip: Use the same headphones for editing. It keeps your ears consistent when you’re cleaning breaths, smoothing levels, and judging clarity.
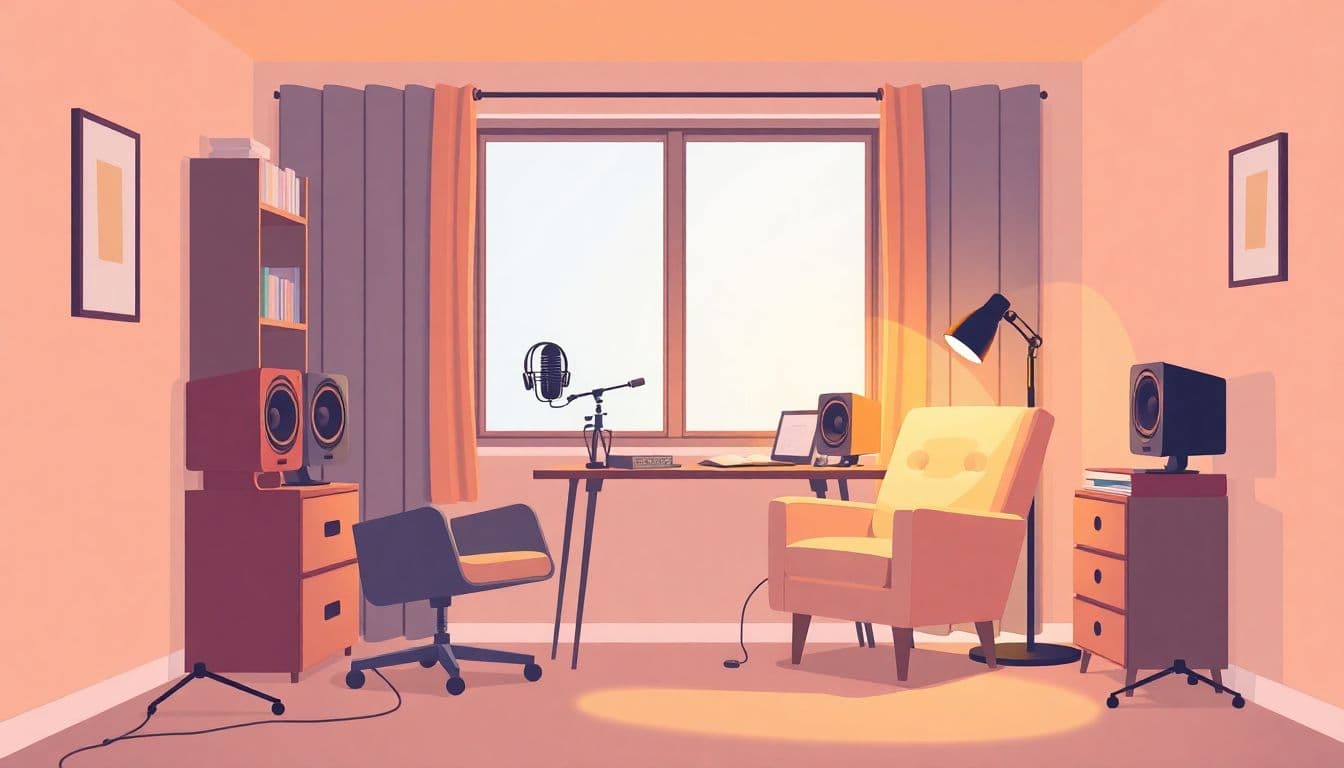
4. Set Up a Suitable Recording Space
Room acoustics are the difference between “studio-ish” and “sounds like it was recorded in a hallway.” You don’t need expensive panels, but you do need to reduce reflections and background noise.
In my own room, the biggest improvement came from two simple moves: I recorded in a smaller corner area and softened surfaces around me. Hard walls (especially tile, glass, or bare drywall) reflect sound and make your voice sound boxy or echoey.
What I do when I’m improvising: blankets behind and beside the mic, a rug on the floor, and even a closet full of clothes can help. Portable foam panels or a small booth can work too, but placement matters more than the foam’s marketing.
Microphone distance + room balance: if your voice sounds too “wet” or distant, move closer (within reason) and aim away from the biggest reflective surface. If you sound too boomy, back off slightly or adjust angle.
Tip: Choose a calm time. I try to avoid recording when neighbors are running appliances, when HVAC kicks on, or right after someone opens a window. Early mornings and late evenings are often quieter for me.

5. Use a Digital Audio Workstation (DAW) for Recording and Editing
Your DAW is where you turn raw takes into something audiobook-ready. I’m not saying you need fancy plugins. But you do need a workflow you can repeat without thinking too hard—because you’ll be recording for hours.
Audacity, Reaper, and Adobe Audition are all solid options. The key is to set up a session template so every chapter starts with the same settings.
My session template (so I don’t mess up):
- Sample rate/bit depth: 48 kHz, 24-bit (I stick to this for consistent quality and easy processing)
- Input: your interface’s mic input
- Track layout: one mono narration track + a separate “notes” track (optional) for what to fix later
- Markers: markers at chapter boundaries or at logical sections so export is quicker
Start recording clean: record to WAV first. Don’t compress while you’re capturing. Get the performance, then polish it.
Editing workflow I use:
- Cut long pauses and obvious mistakes (but avoid over-editing so the rhythm still feels natural)
- Remove mouth clicks only when they’re intrusive—sometimes a tiny click is less distracting than a jump cut
- Clean noise gently: capture a short noise profile (like 1–3 seconds of room tone) and apply noise reduction lightly
- Listen at normal speed and again with headphones at a slightly lower volume—problems pop out fast when you do that
Tip: Export WAV for archiving, then convert to MP3 or M4B after editing. If you’re targeting audiobook platforms, aim for consistent loudness (many prefer around -16 LUFS integrated, depending on the platform). Always check the specific requirements for where you’ll upload.
6. Add Accessories to Improve Sound Quality
Accessories won’t replace a good mic and a decent room, but they absolutely help. The trick is buying the ones that solve a real problem you’re hearing.
In my setup, these made the biggest difference:
- Shock mount: reduces vibration transfer. If you bump the stand or your desk is a little shaky, a shock mount can prevent random thumps showing up in silent moments.
- Proper stand + positioning: don’t let your mic swing. I set mine so the mic stays stable even when I shift posture.
- Absorption panels/portable booth: reduces early reflections. You’ll notice this as less “ring” around your voice.
Also, a gain controller or compressor can help keep narration level consistent. Just don’t overdo it. When I used too much compression early on, it made my voice sound flat and “squashed,” and breaths became more noticeable instead of less.
What you should expect: with better placement and a pop filter, you’ll typically see fewer harsh peaks from plosives. With some room treatment, your waveform usually looks cleaner in pauses (less reverb tail, less room tone creeping forward).
7. Organize and Back Up Your Recordings
Organization might sound boring, but it’s what saves you when you’re 12 chapters deep and suddenly you need to re-export one section. I keep a folder structure that matches the audiobook outline.
My folder structure:
- 01_Raw (original WAV files straight from the DAW)
- 02_Editing (work-in-progress edits)
- 03_Final (chapter-ready WAV files)
- 04_Exports (MP3/M4B outputs)
Then I back up right away. Cloud storage is helpful, but I also keep an external drive so I’m not relying on one place.
Tip: Keep a simple change log. If you do noise reduction on Chapter 3, write down what you changed. Future-you will thank you when you’re trying to keep loudness consistent across the whole book.
8. Export and Share Your Audiobook Files
Once editing is done, the export step is where projects usually succeed or fail—because wrong settings can break chapter markers, metadata, or loudness targets.
MP3 is the common choice for most platforms. If you want chapter navigation and bookmarking support, M4B is often the better route.
Before you export, double-check:
- Codec: MP3 bitrate (commonly 64–192 kbps depending on platform) or M4B settings
- Loudness: meet the platform’s target (many use LUFS-based loudness specs)
- Chapters: confirm markers land where you expect (not 30 seconds off)
- Metadata: title, author, narrator, cover art, and track/chapter names
Finally, you can distribute through audiobook marketplaces and services. If you’re exploring options, sites like ACX, Audible, or even hosting via your own website can be part of your plan. Just don’t skip the platform requirements—each one can be picky about file format, loudness, and chapter structure.
FAQs
Start with what your voice and room need. Condensers are popular for audiobooks because they capture detail, and cardioid mics help reduce background noise. If you can, test a couple of mics in your actual recording space and compare clarity, plosive behavior, and how much room reflection you hear.
Good preamps, stable drivers, and low-latency monitoring are the big ones. Also check whether you need phantom power for your microphone, and make sure the interface is compatible with your computer so you don’t spend your first session troubleshooting.
Closed-back headphones are usually best because they isolate sound and prevent feedback. Comfort matters a lot during long narration sessions—if they hurt after an hour, you’ll start changing your posture and mic distance without realizing it.