Table of Contents
I’ve been playing with AI image tools for a while, so when I saw Nano Banana AI advertised as “simple prompts, fast edits,” I figured it was worth testing myself. What I wanted to know wasn’t just whether it could make images look good—I wanted to see how consistent it was, how repeatable the results felt, and what actually happens after you hit generate.
Nano Banana AI Review: What I Actually Tested (and What Changed)
Here’s how I tested it. I ran a small batch of edits over the course of one session (so, same general environment and same account). In total, I generated edits for 8 images—mixing landscapes and portraits—and I repeated a couple prompts to see if it would drift.
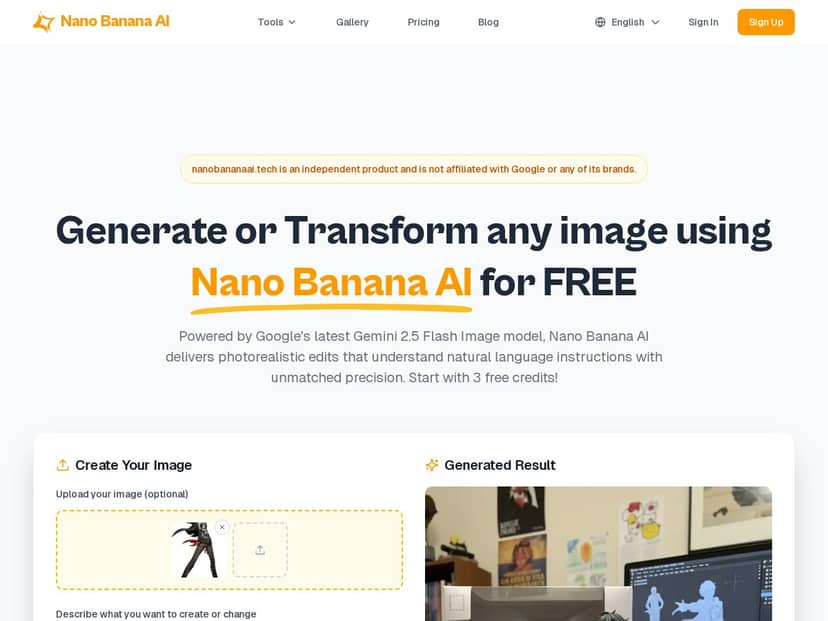
Setup / first run: The workflow is straightforward: upload an image, type a prompt, then generate. I didn’t see a ton of “advanced” settings at first glance, which is honestly a plus if you just want results. The first generation took about 15 seconds on my connection. After that, the other runs landed in the 10–30 second range (depending on the image and prompt complexity).
Scenario 1: Landscape → “golden hour” look
Original: a daytime outdoor scene with neutral colors.
Prompt I used: “Make this look like golden hour photography, warm sunlight, realistic shadows, keep the same composition.”
What I noticed: the lighting shifted noticeably—warm highlights showed up and shadows felt more directional. The composition stayed consistent, but small details (like tiny texture in the sky) weren’t always identical to the original. It looked natural overall, just not “pixel-for-pixel” the same.
Scenario 2: Portrait → background change
Original: a portrait with a plain background.
Prompt I used: “Change the background to a soft bokeh city street at night, keep the person sharp, realistic depth of field.”
What I noticed: the person stayed pretty clean and sharp. The background got the night vibe I asked for. The one thing I had to watch: in a couple runs, the edges around hair/shoulders looked slightly blended. Not a dealbreaker, but if you’re picky about cutouts, you might need to regenerate with a more specific prompt.
Scenario 3: Style transformation (more “creative”)
Original: a landscape photo.
Prompt I used: “Turn this into a cinematic matte painting style, still realistic, detailed clouds, dramatic contrast.”
What I noticed: it leaned into the cinematic look fast. The sky and clouds got more “painted” texture, but I also saw a bit of smoothing in areas that used to have crisp detail. In other words: it’s great for style, but if you want to preserve every original micro-detail, you might be disappointed.
Scenario 4: Repeatability check
I repeated one prompt twice on the same image to see how stable the output is.
Prompt: “Keep the same subject and framing, realistic lighting, subtle color grading, no major changes.”
Result: both outputs were in the same ballpark, but they weren’t identical. That’s expected with generative systems, but the difference was noticeable enough that I wouldn’t call it “set-and-forget.” If you need consistent results for a series, plan on generating a couple variations.
So, does it live up to the hype? For speed and overall realism, yes. For exact preservation (especially around edges and tiny textures), it’s not perfect. Still, it’s one of the easier tools I’ve used when you want something that looks good without spending an hour tweaking sliders.
Key Features (with real examples of how they behaved)
- Natural language editing commands
What I did: I typed prompts like “warm sunlight, realistic shadows” and “keep the person sharp.”
What I noticed: it’s pretty forgiving. Even when my phrasing wasn’t perfect, it still understood the intent. But if I was vague (“make it better”), the output got “generic pretty” instead of following my exact vision. - Supports multiple formats (JPG, PNG, WebP)
What I did: I tested uploads with different image types.
What I noticed: it handled them fine for generation and edits. The only “gotcha” I ran into was typical for cloud tools—large files take longer to upload and can slow the overall turnaround. - Fast image generation (roughly 10–30 seconds)
What I did: I timed a few runs during the same session.
What I noticed: the first run felt slower (~15 seconds). Later runs varied, but most outputs landed in the 10–30 second window. If you’re doing multiple iterations, that speed adds up fast. - Uploading images for transformation
What I did: I used original photos and asked for edits rather than “pure generation.”
What I noticed: it respects the source image more than some tools I’ve tried. You get a “transformed” look, not a completely different scene—unless you push it with very broad prompts. - Blending multiple images / style consistency
What I did: I tried prompts that implied blending (e.g., “blend both scenes” style wording).
What I noticed: it can combine ideas, but it’s not magic. When the two images had very different lighting, I sometimes saw mismatched tones. The model tries to unify them, but you might need to specify “match lighting and color temperature.” - User-friendly interface for beginners
What I did: I didn’t watch tutorials—just used it.
What I noticed: the UI is simple enough that you can get a decent result quickly. If you’re new, you’ll probably spend more time writing prompts than figuring out buttons. - Advanced creative controls
What I did: I used more specific wording like “realistic depth of field,” “subtle color grading,” and “keep composition.”
What I noticed: those details mattered. The more I clarified what to keep vs. change, the better the results. When I stayed vague, I got bigger “creative” swings than I wanted. - Cloud-based operation + Vertex AI integration
What I noticed: you really are at the mercy of your internet connection. If your connection is spotty, generation delays become painful. That’s the tradeoff for the speed and simplicity. - Responsible watermarking with SynthID
What I noticed: watermarking is handled automatically. I didn’t have to toggle anything, and I appreciated that because it’s one less step to worry about.
Before/after style notes (the kinds of changes you’ll actually see):
- Lighting changes (day → golden hour / night): usually strong and pretty convincing.
- Background swaps: often good, but hair/edge blending can happen—especially with detailed hair or complex silhouettes.
- Texture & micro-detail: style prompts can smooth fine textures. If realism is your priority, keep the prompt grounded (“realistic photography,” “subtle grading,” “preserve detail”).
Pros and Cons (based on my runs)
Pros
- Fast turnaround: most generations land around 10–30 seconds, and my first run was about 15 seconds.
- Prompts work: you can get good results without needing to master a bunch of settings.
- Looks photoreal enough for casual projects: portraits and landscapes generally come out believable.
- Good for “quick iterations”: you can regenerate and refine without feeling stuck in a complicated editor.
- Try-before-you-buy: the free tier makes it easy to test your own images and see if it matches your style.
Cons
- Cloud dependency: if you don’t have reliable internet, the experience gets worse fast.
- Prompt sensitivity: vague prompts can lead to “generic improvements” instead of the exact change you want.
- Edge fidelity isn’t perfect: especially around hair/shoulders when doing background swaps.
- Free credits can run out: if you’re doing lots of variations, you’ll want to plan your usage.
- Pricing clarity for consumers could be better: the consumer-facing plan details aren’t as transparent as I’d like, so I recommend checking the official pricing page before committing.
Pricing Plans (what I could verify, and what I couldn’t)
Nano Banana AI uses a freemium model. In my testing, I saw three free credits to start, which is enough to try a couple edits and decide if it’s for you.
For paid plans, the exact plan tiers and prices can change, so I don’t want to guess. The most reliable approach is to check the current pricing on the official site (the link I used to access the tool is the same one above: Nano Banana AI).
About the “$0.039 per image” number: the original post mentions a typical API cost based on token usage, but I don’t have the exact billing math or a direct pricing-doc citation included here. If you want a precise cost estimate, I’d suggest using the pricing page + your own resolution/output settings to calculate it, rather than relying on a single fixed figure.
Quick guidance on which plan to pick:
- Free tier: good if you’re experimenting, doing 1–3 edits, or testing whether it understands your prompt style.
- Paid Pro: better if you’re regenerating variations often (background swaps + style transforms usually mean more than one attempt).
- Professional / heavy use: if you’re producing lots of images for clients or campaigns, you’ll want to verify the monthly generation/credit limits and any speed/rate limits on the plan.
Wrap up
After using Nano Banana AI, my take is pretty simple: it’s fast, the prompts are easy, and the results are usually good-looking without a steep learning curve. Where it falls short is also pretty clear: it’s not always perfect at edge detail, and you’ll likely need a couple regenerations if you care about consistency.
If you want a tool for quick transformations—golden hour lighting, background swaps, cinematic style tweaks—this is a solid option. If you need ultra-precise edits where every hair strand and micro-texture must match the original, you’ll probably still want a more manual editor in your workflow.