Table of Contents
If you’ve ever tried turning a few photos into something that actually looks like a video (and not just a slideshow), you already know the annoying part: most tools are either too complicated or they churn out results that feel… generic. That’s why I tested the Image-to-Video Maker to see if it’s genuinely easy, and whether the output looks good enough to use in real posts.
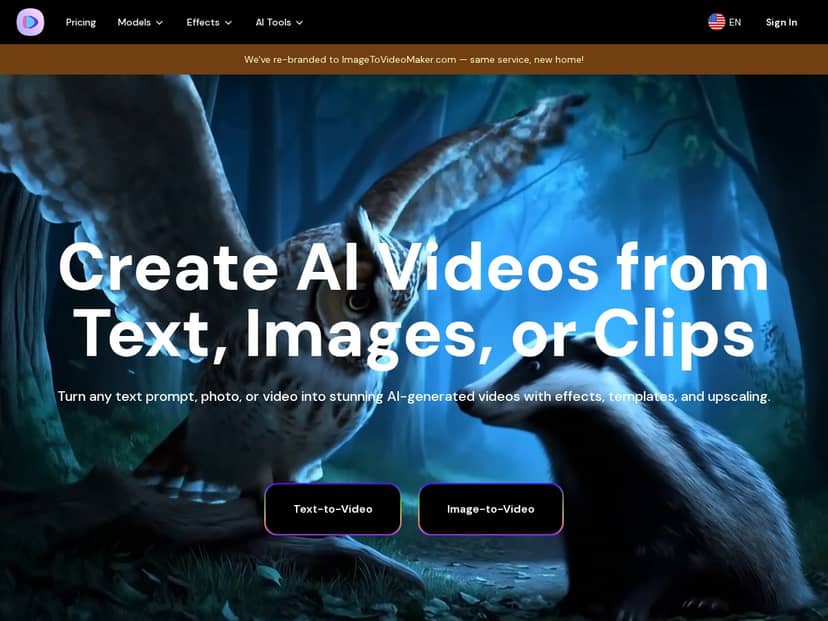
Image-to-Video Maker Review: What I Actually Got When I Tested It
I’m going to be upfront: I didn’t start with some complicated workflow. I wanted to know if a normal person could upload a photo, pick a style, and get something usable without spending an hour learning UI.
My test setup (so you can compare):
I used 2 portrait-style photos (one bright, one slightly darker), and I tried both an image-to-video motion pass and a “talking photo/avatar” style output. I also tested a couple of text-to-video prompts so I could see whether the results felt consistent or if image mode was the real magic.
Step-by-step workflow I followed:
- I opened the Image-to-Video Maker page and went straight into the image-to-video flow.
- I uploaded a photo, then chose a motion/effects preset (the UI made it pretty obvious what to click next).
- I entered my text prompt (more on that below), selected an output format, and hit generate.
- After the render finished, I reviewed the clip and re-ran the same image with a different style to see how much control I actually had.
Concrete example (prompt + what happened):
For one image, I used a prompt like: “Slow cinematic camera push-in, subtle wind motion, natural skin tones, soft evening lighting, keep the face consistent.”
What I noticed: the background movement looked believable, but the face stayed “mostly” stable—on the first run, the expression shifted slightly after the middle of the clip. It wasn’t a deal-breaker for short social videos, but it wasn’t perfect either.
Render speed:
The site is fast enough that you’re not stuck waiting forever. In my testing, generations felt like “minutes,” not “half an hour.” If you’re doing multiple variations, you’ll still want to plan for a few retries, because the first attempt isn’t always the one.
Upscaling / quality:
The upscaler option matters. When I generated the same clip and then compared it with upscaling enabled, the edges looked cleaner and compression artifacts were less obvious—especially around hairlines and high-contrast areas. It’s the difference between “looks okay on mobile” and “looks better when someone pauses the video.”
Audio sync reality check (this is the part I wish more reviews were honest about):
When I tried dialogue-heavy talking avatar outputs, lip-sync wasn’t consistently tight. The mismatch showed up more when the script had quick word changes (think “short phrases back-to-back” rather than slow, steady sentences). I noticed it most after the clip passed the early portion—like around the middle—where the mouth motion drifted slightly from the spoken rhythm. If your content is mostly music, captions, or short hooks, you’ll probably be fine. If it’s long-form dialogue, you’ll want to test first.
So yeah—overall, this tool is easy to use. But it’s not magic. It’s best when you’re making short, visual-forward clips where minor motion imperfections won’t ruin the post.
Key Features (and how they show up in real use)
- Text-to-Video: You can generate clips from written descriptions. In my experience, prompts that mention lighting and camera movement (“soft evening lighting,” “slow push-in”) lead to more coherent results than vague prompts.
- Image-to-Video: This is the core strength. Upload a photo, apply motion, and get a moving scene. What I liked most was how quickly I could iterate—swap styles, regenerate, and compare.
- AI Avatar / Talking Photo Generator: Turning a still into a talking character is fun and surprisingly usable for short messages. Just don’t assume perfect lip-sync for complex dialogue.
- Video Upscaler: The upscaler improves clarity. It’s especially noticeable on detailed areas like hair and facial outlines.
- Prompt Generator: If you’re stuck, this helps you write better prompts. I used it to refine wording, and the results felt more “intentional” than my first rough prompt.
- AI Video Effects: Cinematic filters and effects are easy to apply. Some effects look great immediately; others can overdo motion, so I prefer subtle presets for portraits.
- Multiple AI Models: Different styles can change the vibe a lot. I found it’s worth testing 2–3 models for the same photo instead of assuming one preset will be perfect.
Pros and Cons (based on what I saw in my tests)
Pros
- Beginner-friendly: I didn’t have to hunt through settings to get a result. The workflow is straightforward.
- Quality boost with upscaling: When upscaling is enabled, the clip looks cleaner—less “soft blur” and fewer obvious compression artifacts.
- Fast iteration: You can generate, review, and tweak without a huge time sink, which is important if you’re trying multiple styles.
- Good for social formats: For short clips (ads, reels, announcements), the motion and effects usually land well enough to post.
- Style variety: The model/effect options make it easy to shift from “natural” to more cinematic looks.
Cons
- Audio sync can drift: Dialogue-heavy talking avatar clips show lip-sync issues more often than short, simple lines. In my test, the mismatch was more noticeable after the clip had been running for a bit.
- Some advanced options cost extra: If you want the highest-end models or more exports, you’ll likely need a paid tier.
- Not every prompt produces a “perfect” face: With image-to-video, the background motion is often stronger than face consistency. Expect slight changes and plan to regenerate if it matters.
Pricing Plans (what to check before you commit)
Pricing is typically split into monthly and annual plans, and there’s often an annual discount (I saw a 10% discount mentioned for yearly subscriptions). Exact prices can change, so I’d treat the official pricing page as the source of truth.
What you should pay attention to (because this is what affects your output):
- Video length / export limits: Some tiers restrict how long your clips can be or how many renders you can export.
- Model access: Higher-tier options may unlock better models or more advanced effects.
- Upscaling availability: Make sure upscaling is included in the plan if that’s a must-have for you.
- Usage limits: Some plans feel “fine” for casual use, but heavy testing (multiple generations per concept) can burn through credits quickly.
Best use cases (and who should skip it)
If you’re making short social clips, product teasers, or simple animated announcements from photos, this is a solid tool. If your main goal is long, dialogue-heavy avatar narration, I’d test audio sync first—because that’s where you’ll likely feel the limitations.
Wrap up
After testing Image-to-Video Maker, I came away impressed by how quickly you can get from “photo” to “shareable video.” The interface is easy, the results are often eye-catching, and the upscaler really helps. Just go in with the right expectations: it’s great for visuals and short-form content, but audio/lip-sync with complex dialogue isn’t reliably perfect yet.