Table of Contents
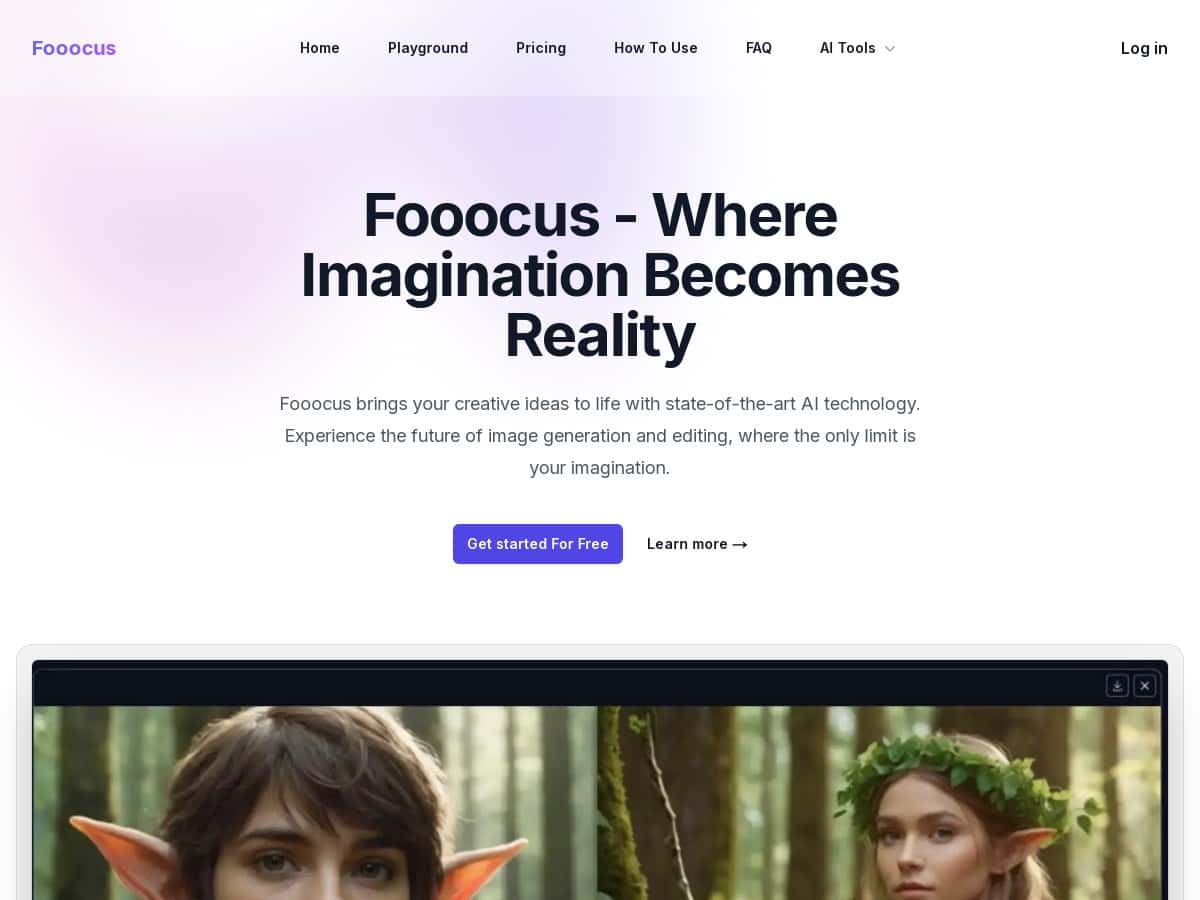
If you’ve been on the hunt for an AI image generator that doesn’t feel like you need a computer science degree, Fooocus is worth a serious look. I’ve used it for a bunch of prompt tests and quick edits, and what stood out to me right away is how “hands-on” it feels without being overwhelming. You can get good results fast, then slowly dial things in—styles, aspect ratios, inpainting, all that—without the whole process turning into a settings maze.

Fooocus Review: what it’s like in real use
I’m going to be upfront: this review is based on hands-on testing with prompt-to-image runs and a bunch of short inpainting attempts (not just reading feature lists). My goal wasn’t to “perfect” every output—it was to see how quickly I could go from idea to something usable, then improve it with minimal fuss.
Here’s what I noticed during testing:
- Setup and first run: once you’re in the UI, the workflow feels linear—prompt in, choose composition (aspect ratio), generate, then iterate. I didn’t have to chase down a dozen toggles just to get something decent.
- Prompt behavior: the model generally respects the main subject and style direction. If I kept the prompt simple (one clear subject + one style cue), I got more consistent results than when I tried to pack in five competing ideas.
- Iteration speed: it’s easy to re-run and compare variations. That matters because AI outputs can be hit-or-miss; being able to move fast is half the battle.
- Editing: inpainting is where Fooocus really starts to feel “useful,” not just “cool.” I’d generate an image, then mask only the area that needed fixing (like changing a background, adjusting clothing details, or cleaning up a face region).
One thing I don’t love about most AI tools is when you finally find the “good” settings and then the results still feel unpredictable. Fooocus isn’t magically deterministic, but it does feel more forgiving—especially for people who don’t want to micromanage every parameter.
Key Features (and how I’d actually use them)
Advanced inpainting that’s actually practical
Inpainting sounds straightforward—mask an area, regenerate—but the difference is in how well the tool blends edges and keeps the rest of the image intact. In my tests, the best results came when I:
- Masked smaller areas instead of trying to redo the whole image.
- Used prompts tied to the edited region (e.g., “replace the sky with a sunset gradient” instead of repeating the entire scene).
- Kept the style consistent with the original generation. If I changed the style language too aggressively, the edited part sometimes looked “from a different image.”
Mini case study #1: I generated a portrait with a plain background, then masked only the background. When I used a prompt like “warm sunset lighting, soft bokeh, golden hour,” the edit blended nicely. When I asked for “cyberpunk neon city at night,” the model sometimes changed lighting on the subject too much—so the lesson was: keep the edit prompt aligned with the original lighting direction.
Prompt guidance that doesn’t punish you for being human
Some generators are extremely sensitive—one vague word and everything falls apart. Fooocus felt more tolerant. What helped most was using a clear structure:
- Subject: “a ceramic teapot,” “a woman in a denim jacket,” “a corgi astronaut”
- Style: “photorealistic,” “watercolor,” “studio product photography,” “anime key visual”
- Lighting/composition: “soft rim light,” “shallow depth of field,” “3/4 angle”
Mini case study #2: I tested two prompts for the same subject: one short (“photorealistic portrait, soft studio lighting”) and one long (“photorealistic portrait, soft studio lighting, ultra-detailed skin, cinematic color grading, sharp focus, bokeh, 85mm lens, HDR, masterpiece”). The longer prompt didn’t always improve things. The short one produced more consistent faces and fewer weird artifacts. So yeah—sometimes less is more.
Multiple prompts for controlled variety
Using multiple prompts is a nice way to push diversity without starting from scratch. In practice, I found it works best when each prompt is a variation rather than a completely different scene.
- If you want variety in style, keep the subject the same and only change the style cue.
- If you want variety in mood, change lighting adjectives and background elements, not the core subject.
Tip I used: generate a batch with slight prompt variations, then pick the closest one and refine with inpainting. That workflow saves time compared to trying to “one-shot” the perfect image.
SDXL model compatibility (choose based on the look you want)
Fooocus supports different SDXL models, and that’s huge because different models “lean” different ways. I didn’t treat model choice like a random setting—I matched it to the output I wanted.
- Want more realistic texture? I went toward the more photoreal leaning SDXL options.
- Want illustration / stylized? I switched to a model that’s known for that aesthetic.
What I noticed: model choice affects not only style, but also how stable faces and hands look. If your results are drifting, changing the model is often more effective than rewriting the prompt 20 times.
Aspect ratio control that doesn’t feel like a chore
Aspect ratio matters more than people think—especially if you’re aiming for social posts, banners, or thumbnails. In my tests, selecting the right aspect ratio early helped the model compose correctly. If I generated a square image and then tried to force it into a different framing later, the results were less convincing.
Fine-tune style with contrast, sharpness, and color
These controls are the “make it pop” layer. I usually treat them like this:
- Contrast: bump it slightly if the image looks flat.
- Sharpness: don’t overdo it—too much can make edges crunchy.
- Color: adjust only when the palette feels off compared to what you imagined.
Mini case study #3: I generated the same scene twice—same prompt, different contrast settings. The higher-contrast version looked more dramatic, but it also increased the likelihood of harsh artifacts on fine details (like hair strands). The takeaway: small changes first.
Prompt reweighting (use it when one detail keeps getting ignored)
Reweighting is one of those features that can feel overkill… until it fixes a specific problem. In my experience, it’s most useful when:
- The model keeps ignoring a key detail (“red boots” becomes “black boots”).
- You’re trying to emphasize a specific texture or material (“glass reflections,” “leather grain”).
- Two style cues are fighting each other.
If you’re new, start by reweighting just one element. If you reweight everything, you’ll just create a new kind of chaos.
Realistic face swapping (InsightFace) — good, but not effortless
Face swapping can produce impressive results, but I wouldn’t call it “set it and forget it.” The biggest things that affected quality in my tests were:
- Face alignment: if the face angle is different, results can look uncanny.
- Lighting consistency: mismatched lighting between source and target can make the swapped face stand out.
- How much you swap: swapping only the face region tends to blend better than trying to force a full head/neck match every time.
Also, I found it’s easier to get a natural look when the base image already has a clear, front-facing face. If the original photo is blurry or at a weird angle, the swap has more to “guess.”
Local installation option for privacy and offline work
If you don’t want your images going through a hosted service, local installation is the big appeal. The trade-off is hardware. Running locally is great, but you’ll want a GPU that can handle SDXL comfortably—otherwise you’ll wait a lot between generations.
Pros and Cons (what I’d tell a friend)
Pros
- Beginner-friendly workflow: it’s easy to get results quickly, then learn by iterating rather than by reading a manual cover to cover.
- Inpainting is genuinely usable: masking small problem areas is where it shines, and it blends well when your prompt matches the original style.
- Good customization without feeling “technical”: aspect ratio and style controls are straightforward, not buried in advanced settings.
- Model choice helps: switching SDXL models can fix output drift faster than endlessly rewriting prompts.
- Local option: if privacy/offline matters, installing locally is a real advantage.
Cons
- You’ll still need prompt discipline: Fooocus is forgiving, but if your prompt has competing ideas, results can get messy. I learned quickly that “clear beats clever.”
- Face swapping takes practice: alignment and lighting consistency matter a lot. Expect a learning curve.
- No magic for speed: generation time depends on your setup (hosted or local). If you’re on slower hardware locally, you’ll feel it.
- Hosted usage depends on connectivity: if the connection is flaky, your workflow will slow down. Local removes that problem.
- Advanced tweaks can still be time-consuming: once you start chasing a very specific look, you’ll spend time iterating like you would with any image model.
Pricing Plans: free vs paid (and what to double-check)
Pricing for Fooocus can vary depending on whether you’re using a hosted service or a local install. In general, you’ll see a free tier for basic exploration, plus paid options for heavier usage (more generations and more access to higher-demand features like upscaling).
One thing I don’t want to do is guess at exact numbers. Instead, here’s what you should check on the pricing page before you commit:
- What “paid” unlocks: unlimited generations vs. a monthly cap, and whether upscaling has its own credit limit.
- Whether upscaling is included: some plans separate “generate” credits from “upscale” credits.
- Model/style access: paid tiers sometimes unlock additional SDXL models or premium styles.
- Local install requirements: local can be “free,” but it’s not “free-free” if you need a better GPU.
If you want the most accurate pricing snapshot, compare the plan details directly on the official Fooocus pricing page (and if you’re using the hosted link above, make sure the plan you’re seeing matches that service).
Wrap up: should you use Fooocus?
Choose Fooocus if you want an AI image generator that’s easy to start, supports inpainting for real edits, and lets you iterate without turning everything into a technical project. It’s especially good if you like a workflow like: generate → pick the best result → mask and fix.
Avoid it (or at least be cautious) if you need highly repeatable outputs with zero tweaking, or if you expect face swapping to be effortless on day one. You can get great results, but you’ll still need to learn what works—mask sizes, prompt specificity, and consistency with lighting/angles.
For most people trying to make better images faster, Fooocus feels like one of the more practical options out there. And honestly? That alone makes it worth testing.