Table of Contents
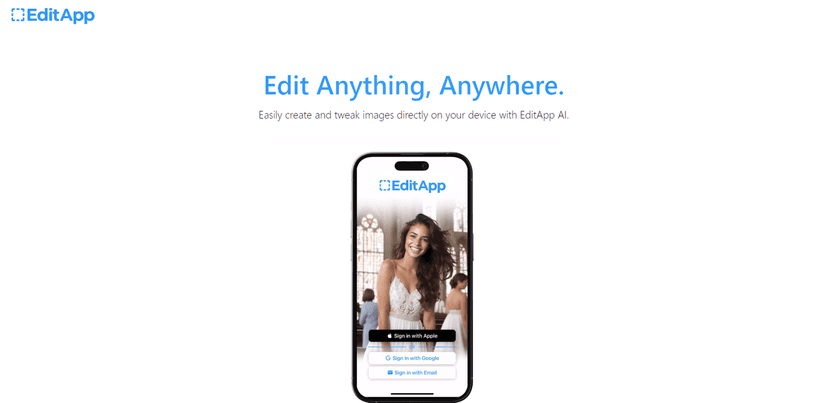
If you’ve ever opened a “real” image editor and immediately felt overwhelmed, I get it. I’ve been there. EditApp AI is the kind of tool I reach for when I just want to fix something quickly—swap a background, clean up a detail, or try that generative fill effect without spending an afternoon learning shortcuts.
It’s an online editor that leans on AI to help you make changes faster, and in my experience it’s easiest when you want practical, everyday results (social posts, quick product tweaks, background swaps for thumbnails, that sort of thing). If you’re curious, here’s my EditApp AI review—what worked for me, what didn’t, and what I’d watch out for before you commit.
EditApp AI Review
When I say “easy,” I mean I didn’t have to hunt through layers of menus to get started. Uploading an image and then choosing an edit type felt pretty straightforward. If you’re coming from basic phone editing apps, the workflow will feel familiar—just with a lot more power behind it.
What stood out to me most is the generative fill approach. Instead of only letting you do simple retouching, you can select an area and let the AI create what belongs there. That’s especially helpful when you’re trying to remove distractions or rebuild a background detail without cloning stamps and doing everything manually.
Background changes also feel like one of the main “reasons to use it.” I tried swapping backgrounds on a couple of everyday photos, and the results were generally usable for quick posts. The edge quality wasn’t always perfect—hair and fine details can still be tricky—but it was fast enough that I didn’t mind doing a small cleanup pass.
And yes, there’s detail fine-tuning too. In practice, this is where you can steer the edit away from “almost right” to “actually looks like it belongs.” If you’re the type who cares about realism (shadows, lighting direction, texture consistency), you’ll want to pay attention here and re-run the edit if it looks off.
Key Features
- Generative fill for seamless image editing
- Background changing capabilities
- Detail fine-tuning options
- User-friendly interface for easy navigation
- Supports various image editing tasks
Generative fill (the feature people actually try first)
This is the heart of EditApp AI. I used it to replace areas that were distracting in the original image. The biggest difference versus basic tools is that it doesn’t just blur or cover—it tries to reconstruct the missing content based on the surrounding context.
Tip from my own testing: start with smaller selections. If you highlight a huge chunk, the AI has more room to guess wrong. Smaller edits usually look more consistent with the rest of the photo.
Background changing (fast swaps, but check edges)
Background editing is great when you want a clean look for social media or product-style images. I found it works best when the subject is well-lit and clearly separated from the background to begin with.
If the original photo has messy lighting or complicated textures behind the subject, you might need a second pass. Again, it’s not always “Photoshop perfect,” but it’s often good enough to save time.
Detail fine-tuning (where quality either clicks or needs another attempt)
This feature is important because AI can get the overall idea right and still miss the small stuff—like texture alignment or lighting direction. When you fine-tune, you’re basically telling the tool to stop being “close” and start being “right.”
My rule: if the edit looks slightly unnatural, don’t just export and move on. Re-run the fine-tuning once or twice. Small changes can make a surprisingly big difference.
Pros and Cons
Pros
- Beginner-friendly. I didn’t feel like I needed a tutorial just to make a basic edit.
- Generative fill can produce genuinely helpful results, especially for quick fixes and background detail restoration.
- Background changing is quick, which is great if you’re posting often and don’t want to spend hours editing.
- Online access means you don’t have to install anything—handy when you’re on a different device.
- Detail fine-tuning gives you a way to correct the “almost right” moments instead of starting over from scratch.
Cons
- Pricing details aren’t clearly available in the content I reviewed, so you’ll want to check before you upgrade or commit.
- Advanced users may still prefer traditional software (Photoshop-style tools) for pixel-level control and complex compositing.
- Edge cases happen—hair, semi-transparent objects, and busy backgrounds can require extra refinement.
- AI edits aren’t always consistent across different images. The same tool can behave differently depending on lighting and subject complexity.
Pricing Plans
At the moment, I couldn’t find specific pricing details for EditApp in the information provided. That’s a little frustrating, because pricing is usually the deciding factor when you’re comparing an online AI editor to free or one-time-purchase alternatives.
If you’re checking it out, I’d suggest you confirm a few things right away:
- Whether there’s a free tier (and what limits you actually hit—daily edits, resolution, exports, etc.)
- What you get in paid plans (more generations, higher quality exports, background options, etc.)
- Whether there are any restrictions on commercial use if you plan to sell the images
Once you verify those, it’ll be much easier to judge if EditApp AI fits your workflow.
Wrap up
EditApp AI is one of those tools that feels built for real life. It’s not trying to replace every professional editor—it’s trying to get you from “I want this to look better” to “okay, that’s good” fast. In my experience, it shines when you want quick background changes and generative fill edits without the usual learning curve.
If you’re mostly doing everyday photo improvements, social content, or quick design tweaks, it’s definitely worth a try. Just don’t expect every AI edit to be perfect on the first run—sometimes you’ll need to fine-tune a bit before it looks natural.
Promote EditApp AI