Table of Contents
If you’re trying to make older clips look sharper (or clean up shaky, noisy footage), the AI Video Enhancer from Wondershare UniConverter is one of the tools I kept coming back to. It’s built to do two big things: reduce noise/ugly artifacts and smooth out motion so the video feels more “complete” instead of choppy or blurry.
In my experience, the difference is most obvious on footage that already has a decent base—like a phone video in decent lighting, a recorded presentation, or casual travel clips where the motion is there but the quality isn’t. You can absolutely improve things that look soft or grainy, but don’t expect miracles on heavily damaged or extremely compressed sources. Still, when it works, it looks noticeably cleaner.
AI Video Enhancer Review
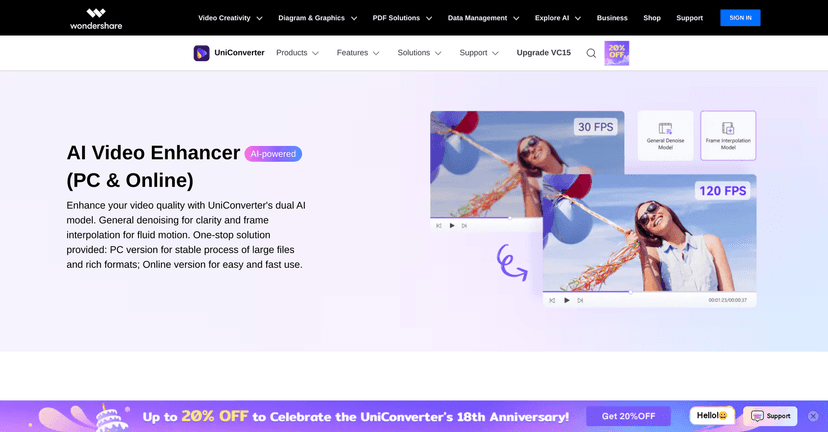
The AI Video Enhancer from Wondershare UniConverter is the kind of tool that’s easy to try and quick to see results with. The big selling points are AI denoising and frame interpolation. If you’ve ever watched footage where the background looks speckled or “dirty,” denoising is usually the first thing you’ll notice. And if you’ve got motion that feels slightly stuttery—like panning shots, sports clips, or slow-motion segments—frame interpolation is where the smoother look comes from.
Here’s what stood out to me when I tested it:
- Denoising that actually cleans up noise — On grainy clips, the background tends to look less crunchy. Faces and edges usually hold up well, though no AI is perfect.
- Smoother motion for slower scenes — Frame interpolation can make movement feel more fluid, especially for slow-motion videos. Just keep an eye on fast-moving subjects, because AI can sometimes introduce a slightly “too smooth” look.
- High-resolution support — It supports enhancement up to 4K and 8K, which matters if you’re trying to deliver cleaner uploads or re-edit older footage.
- Online or desktop — You can use it as an online tool or a PC app. I like having both options—desktop is great when I’m batching files, while the online version is handy for quick tests.
Setup is straightforward. You upload or import your video, pick the enhancement options, and let it run. Is it a one-click “make any video look like it was shot on a cinema camera”? No. But for everyday creators, it’s a practical way to improve clarity without learning a complicated editing workflow.
Key Features
- AI-Powered Denoising for clearer visuals — reduces noise and motion artifacts so the image looks cleaner.
- Frame Interpolation for smoother motion — helps create smoother playback, especially useful for slow-motion content.
- Support for high resolutions up to 4K and 8K — helpful if you’re working toward higher-quality output.
- User-friendly enhancement process — the workflow is simple enough that you don’t need a tutorial to get started.
- Available as both a PC application and an online tool — choose based on whether you want speed, batching, or convenience.
If you want better results, start with the best source you have. AI enhancers can only “guess” details that aren’t really there. So if the original video is extremely compressed or blurry, you’ll still see improvement—but it may be more subtle than you hoped.
Pros and Cons
Pros
- AI enhancement quality can be genuinely noticeable — especially denoising on grainy footage.
- Works across multiple input formats — which saves time when you’re juggling files from different devices.
- Simple interface — I didn’t feel like I needed to “figure out” the software before getting results.
- Free trials available — both the PC and online options give you a chance to test before paying.
Cons
- Performance depends on your hardware — on slower systems, processing can take longer than you’d expect.
- Online version may feel more limited than desktop — when I wanted more consistent output, desktop was the better option.
- Online tool needs internet — if your connection is spotty, uploading large videos can be a hassle.
Pricing Plans
The AI Video Enhancer offers flexible pricing, with options for Windows and Mac users. You can download the desktop version directly, and the website also lists pricing details and free trial options so you can test it first.
Practical tip: before you pay, try a short clip from your actual footage (30–60 seconds is enough). That way you can see whether the denoise + interpolation combo matches what you’re trying to fix—without wasting time on a full-length export.
Wrap up
Overall, I think the Wondershare UniConverter AI Video Enhancer is a solid choice if your goal is to improve clarity and smooth out motion without doing heavy manual editing. The results are usually most convincing on everyday videos—grainy clips, slightly blurry footage, and slow-motion sequences. Just remember: the better the original source, the better the AI can “enhance” it. If you can, use the free trial first and trust your eyes.
Promote AI Video Enhancer